Whole-Home Repipes for the East Valley — Plumbing, Drywall, and All
Recurring leaks are data, not bad luck. One pinhole leak on copper can be a repair. Two or three in a short span, especially on the hot-water side, means the pipe itself is failing, and the next one is already forming. A repipe replaces the root cause instead of patching symptoms.
Most East Valley homes were built during one of three pipe eras: galvanized (pre-1970), underground copper (1970s through the 2000s), and polybutylene (late 1970s through mid-1990s, sometimes alongside copper). Each material has a characteristic failure mode, and each has a predictable end-of-life in this climate and water chemistry. If you’re at the point where you’re researching repipes, the pipe itself is probably telling you something.
We handle repipes start to finish: scope, permit, installation, pressure test, inspection, and drywall restoration. That last part — patching, texturing, and painting every wall opening after the plumbing work passes — is what we do under our CR-61 Carpentry and B-3 General Remodeling licenses. Most plumbers stop at the pipe. We don’t.
When a Repipe Is the Right Call
Most homeowners don’t decide to repipe. The pipes decide for them. The trigger signs are consistent:
- Recurring pinhole leaks on copper, especially on the hot-water side. Copper pinhole corrosion accelerates when chloramines — used by most East Valley municipalities — contact heated copper. If the hot side is leaking first, that’s the pattern.
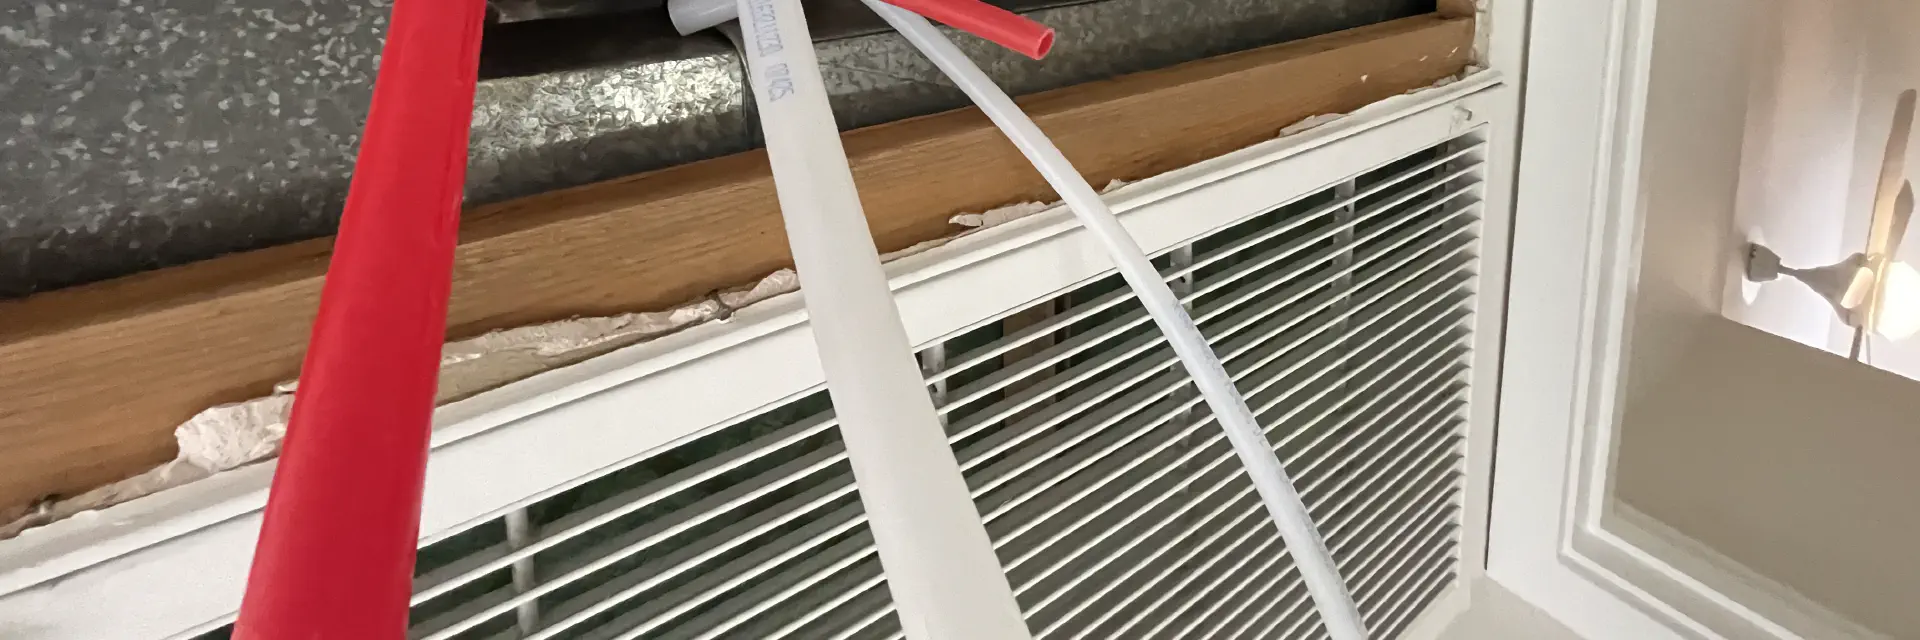
- Polybutylene supply lines. Gray plastic pipe installed roughly from 1978 through the mid-1990s. It was the subject of a major class-action settlement for good reason: polybutylene degrades at the fittings, and there’s no repair that addresses the underlying failure mode. If your home was built during this window and you see gray plastic supply lines, it’s worth knowing what you have.
- Galvanized supply lines. Standard in homes built before roughly 1970. Galvanized steel rusts from the inside out: flow restricts, water pressure drops, and eventually rust-colored water makes it to the tap. The internal corrosion is cumulative; the pipe doesn’t get better.
- Slab leak, active or repeat. Re-routing supply lines through the attic during a repipe means never cutting into the foundation again for that pipe. If you’ve had one slab leak repaired and the underlying pipe is aging copper, a repipe re-route is worth considering before the next event.
- Persistent low water pressure with no obvious upstream cause. Mineral scale and internal corrosion both restrict flow from the inside. If the city pressure is fine and fixtures check out, the pipes are worth a closer look.
If targeted repairs still make sense — isolated section failure, newer overall supply system — see Plumbing Repairs.
What’s Hiding in East Valley Walls
East Valley housing stock spans several plumbing eras, and the local water chemistry is hard on pipe — particularly copper.
Chloramine and heat are copper’s adversaries. Most East Valley cities treat water with chloramines rather than free chlorine. Chloramines are more stable and travel better through a distribution system, but they’re more aggressive toward copper. Combined with the water temperatures a water heater produces, chloramine-exposed copper develops pinholes from the inside out. This is why hot-water-side leaks appear before cold: the damage is thermal and chemical, concentrated where the temperature is highest.
Polybutylene is identifiable by color — it’s gray, flexible plastic, typically gray fittings at connections. If your home was built between the late 1970s and mid-1990s, it may have been installed. The failure mechanism is chemical: chlorinated water causes the material to become brittle at the fittings over time. There’s no remediation that makes existing polybutylene reliable long-term.
Galvanized pipe telegraphs its condition. Rust-colored water and diminishing pressure are the signature symptoms. The internal rust layer accumulates over decades; at some point the pipe is operating at a fraction of its original bore. Galvanized lines are also prone to developing small leaks at fittings and threaded joints as the corrosion progresses; by the time the flow problem is noticeable, the pipe interior has been deteriorating for years.
Slab leak re-routes. When a leak is located under the slab, one option is to expose and repair that single spot. The other — and often the smarter one when the supply system is aging — is to re-route the line entirely through the attic during a full repipe. Attic routing eliminates any future need to cut into the foundation for that pipe. If you’ve already had one slab leak on copper and the system is aging, that second event has a way of arriving before it’s convenient.
A water softener or whole-home filtration system can reduce the chemical aggressiveness of incoming water going forward — worth considering alongside a repipe if chloramine exposure is what failed the previous system. Treating the water that runs through new pipe helps extend its service life.
PEX-A Cold Expansion: Why It’s Our Default
When we recommend PEX for a repipe, we specify PEX-A installed via cold expansion. This is worth explaining, because not all PEX is the same, and most installers use a different, less reliable process.
PEX-A cold expansion works by expanding the pipe end and fitting ring outward with a tool, inserting the fitting, and allowing the pipe’s memory to compress back. As it returns to size, it forms a full-bore connection — no restriction at the joint, and the fitting is mechanically locked in by the pipe itself. The connection is strong, consistent, and doesn’t rely on a crimp ring applied by hand.
Most contractors use crimp or clamp PEX-B instead, primarily because the tooling is less expensive. Crimp PEX-B creates a partially restricted connection and is more dependent on proper crimp tool calibration and technique. It’s an approved method, just not the best one. We use cold expansion specifically because it produces the most reliable result.
PEX vs. Copper: Honest Trade-offs
Both materials are legitimate choices. We discuss with each customer and make a recommendation based on their home, their goals, and the water chemistry. Here’s the actual comparison:
| Factor | PEX-A (Cold Expansion) | Copper |
|---|---|---|
| East Valley chloramine resistance | Not affected — PEX doesn't corrode | Susceptible to chloramine-accelerated pinhole corrosion, especially on hot side |
| Fewer joints, fewer failure points | Flexible — routes around obstacles with fewer fittings | Rigid — requires more fittings at every bend |
| Freeze behavior | Expands without rupturing in a freeze event | Splits — though East Valley freezes are rare, it matters in attic runs |
| Installation speed | Faster install = fewer drywall openings | Slower — more fittings, soldering |
| Material cost | Lower | Significantly higher; copper prices fluctuate with commodity markets |
| UV exposure | Cannot be used on exterior runs — must be protected from UV | UV is not a concern |
| Buyer preference | Some buyers or markets prefer copper — worth discussing if resale is near-term | Traditional; some buyers specifically look for it |
| Long-term track record | Decades in use; PEX-A cold expansion specifically has excellent field performance | Long proven history in residential plumbing |
For most East Valley homes where chloramine exposure is what failed the copper in the first place, PEX-A is the practical choice. If there’s a specific reason to use copper — homeowner preference, near-term sale to a buyer pool that values it, visible architectural runs — we can price both and let you decide.
Whole-Home vs. Section Repipe
A whole-home repipe replaces all supply lines — hot and cold — from the main shutoff forward. A section repipe replaces an isolated run or segment where failure has occurred.
Section repipes make sense when: the pipe failure is truly isolated, the rest of the system is in good condition, and there’s no pattern indicating broader deterioration. This is often the right call for homes with newer copper where one failure point is genuinely anomalous — not representative of what the rest of the system looks like.
Whole-home repipes make sense when: there’s a pattern of failure (two or more events, especially on the hot-water side), the supply material throughout is polybutylene or galvanized, or a slab re-route is involved and re-routing one line logically becomes re-routing all of them. The math on repeated section repairs eventually tips toward replacement, usually sooner than homeowners expect when the underlying material has reached end-of-life.
A useful framing: a section repair solves the leak you have. A whole-home repipe solves the leak you don’t have yet. Both are legitimate depending on the system’s actual condition.
We’ll walk through what we see at the walkthrough and give you a straight read. If a targeted repair is the right answer, we’ll say so. See Plumbing Repairs for isolated repair work that doesn’t warrant a full repipe. If the pattern indicates it’s time to replace the system, we’ll explain why and what that looks like.
The Process: What a Week Looks Like
Most whole-home repipes run a week or less. Here’s what that looks like:
- Walkthrough and scope agreement. We assess which lines are being replaced, what route makes sense (attic re-route versus wall runs versus slab re-route for active slab leaks), where access points need to be cut, and what the full scope of drywall restoration includes. You get a written quote before anything starts — scope, timeline, and material selection all confirmed in writing.
- Permit pull. We pull all required permits from Maricopa or Pinal County before any work begins. Permitted work protects your home’s record and is required for final inspection.
- Water management during install. Supply needs to be off while new lines are being run. We coordinate timing during the planning phase so there are no surprises day-of.
- Strategic drywall openings. Experienced installers cut fewer holes. We plan access points to minimize the opening count while still giving us a clean, code-compliant install — and we’re planning those cuts knowing we’re the ones closing them.
- New line installation. PEX-A cold expansion or copper, per the agreed scope and material selection.
- Pressure test. The new system holds pressure before we close anything. This is how we catch any issues before the inspector arrives, not after walls are closed.
- Final inspection sign-off. The inspector reviews the work, confirms it meets code, and signs off. This documents everything on the permit record and stays with the property.
- Drywall patching, texture, and paint. After the inspector clears the work, we close every opening — patch, texture-match, and paint. The walls look like the repipe didn’t happen.
One Company, Drywall and All: We Patch, Texture, and Paint
This is the part that separates a repipe with Diagnostic Plumbing from a repipe with most plumbing companies.
Most plumbing companies complete the pipe work and leave the drywall openings for the homeowner to deal with — find a drywall contractor, wait for their schedule, coordinate texture-matching, hope the paint blends. That’s a common and genuinely frustrating experience. You’ve already been through the disruption of a repipe, and now you’re managing a second trade.
We don’t do that. After the work passes inspection, we patch every opening, match the texture, and paint. This is work we do under our CR-61 Carpentry, Remodeling & Repairs license and our B-3 General Remodeling license — ROC #327365 and #332463. Same company, same crew, one point of contact from water shutoff to finished walls.
This also means we can plan the drywall work strategically. Knowing we’re the ones doing the patch means we’re more careful about where and how we make access cuts during install, not just punching through wherever is fastest.
This capability is also what makes us the right fit when a repipe is part of a larger renovation. If you’re remodeling a kitchen or bathroom alongside the pipe work, we can fold it into a single project scope under our full remodeling services. The licenses that cover finish work on the repipe are the same ones that cover a full kitchen gut.
Most Whole-Home Jobs in a Week or Less
Timeline expectations matter when your household is working around a construction project. A typical whole-home repipe on a standard East Valley single-family home — two to four bathrooms, 1,500–2,500 square feet — runs a week or less. That covers pipe work, pressure testing, inspection scheduling, and finish restoration.
Variables that affect timeline: home square footage and number of fixtures, routing complexity (open attic access versus working through finished walls), whether slab re-routing is involved, and any additional scope added to the project. Older homes with original galvanized on non-standard configurations sometimes run longer; newer single-story homes with good attic access often come in faster.
We set timeline expectations specifically in the scope agreement — not a generic range, but a schedule based on your home. That’s the conversation we have at the walkthrough before anything is committed.
There’s no upside to overpromising on timeline. A repipe is a real construction project with a permit, an inspector’s schedule, and finish work that needs to cure. We’ll give you an honest estimate and hit it.
Permits, Pressure Testing, Final Inspection
Every repipe we do is permitted and inspected. This is the only way to do it correctly, and it’s the only way to protect the investment you’re making in your home.
Permits are pulled from Maricopa or Pinal County before work begins, depending on your property location. This is standard for any supply line replacement in Arizona, and it’s documentation that matters. If you sell your home, the permit record shows the work was done to code and inspected. Buyers and their inspectors look for this.
Pressure testing happens before we close the walls. The new system is pressurized and monitored to confirm it holds — no leaks, no gradual drops — before the inspector arrives. If anything needs adjustment, we catch it now, not after the drywall is patched.
Final inspection sign-off closes the permit. The inspector reviews the installation, confirms it meets code, and signs off. That documentation stays with the property.
Warranty: Materials carry manufacturer warranty coverage; PEX-A products from reputable manufacturers typically carry substantial coverage — we’ll detail the specifics when we put together your quote. Our installation warranty terms are disclosed in the written quote as well.